
Shrink wrap can get damaged during installation or from minor site mishaps. Often this starts with a hole; if overlooked, it could get worse, and you might have to redo the entire section.
Repairs depend on the size, and this blog will walk you through the process, from small punctures to larger tears.
What Tools Are Needed for Repairing Shrink Wrap Holes
First things first: always have these tools on hand to patch holes whenever needed.
- Shrink gun
- Shrink torch
- Patch tape
- Knife or scissors
- Heat-resistant gloves
- Roller (optional)
- Extra shrink wrap (same variant or similar thickness) (optional)
Keep all material clean and dry. Dirt or moisture under a patch can affect the seal.
How to Repair Shrink Wrap Small Holes (Punctures and Pinholes)
Small holes are common, but they should be sealed with pronto, so they don’t tear bigger when heat is applied.
Step 1: Wipe the surface
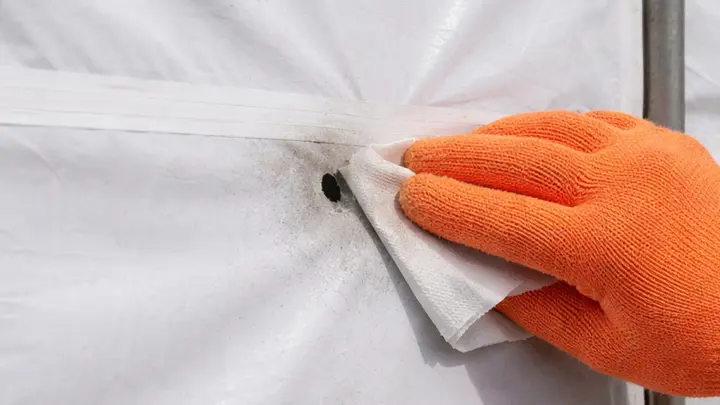
Wipe around the hole to remove dirt or moisture. Any debris will stop the tape from sealing.
This is especially important if the wrap has been handled in dusty conditions or after cutting nearby sections.
Step 2: Cut and apply patch tape
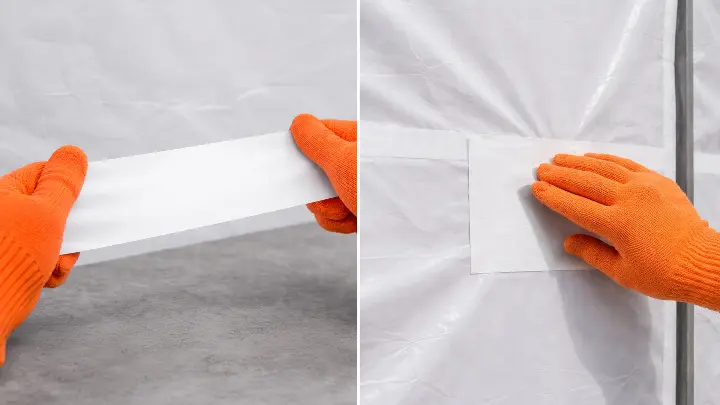
- Cut a piece of patch tape that extends at least 50 mm beyond the hole on all sides using a utility knife.
- Apply the tape directly over the puncture and smooth it down with a gloved hand.
- Work out any air pockets until the tape sits flat against the wrap.
Step 3: Flash heat
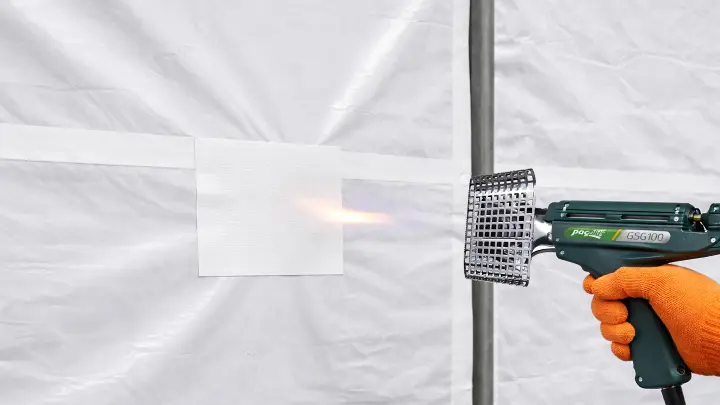
- Use a shrink gun or torch to flash heat the tape for 2 to 3 seconds.
- Hold the gun at a 45° angle around 15 to 20 cm (6 to 8 inches) from the surface.
- Keep the heat moving and don’t hold it in one spot.
This technique gives extra strength, especially when working at low temperatures.
Step 4: Check the seal
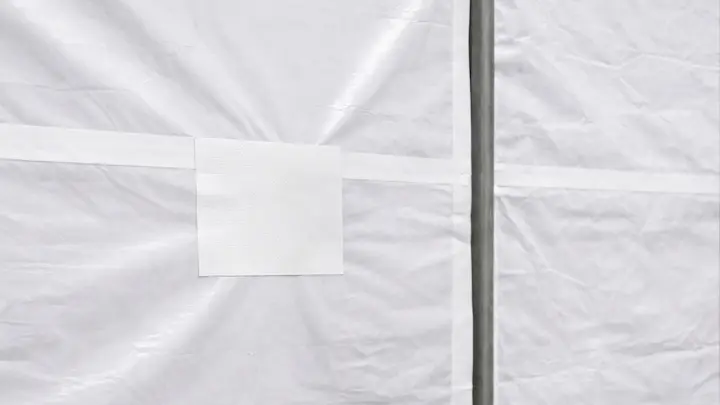
If the hole hasn’t stretched and the surrounding wrap is still tight, the patch alone is enough. No need for extra layers unless the tape lifts.
How to Patch Large Holes in Shrink Wrap (Tears and Splits)
Bigger holes with stretched or tensioned edges won’t hold with tape alone.
Step 1: Trim the damage
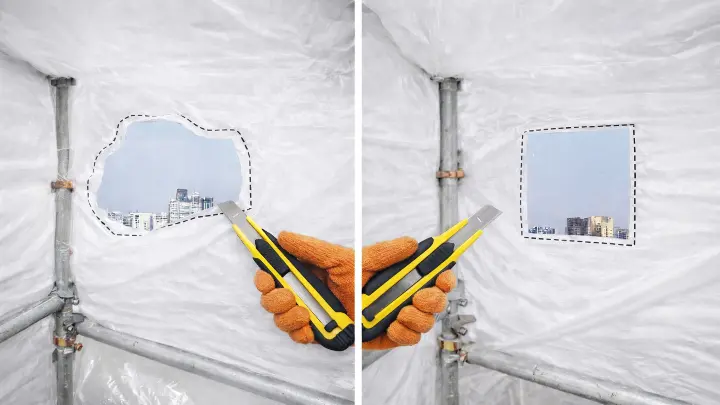
Cut away any loose or stretched material. You want a clean, controlled opening, not jagged edges that keep tearing.
Tip: Trim the opening into a simple square or oval to give the patch a flat surface to stick to.
Step 2: Cut the patch

Use a piece of shrink wrap that overlaps the hole by at least 75 to 100mm on all sides. Match the thickness where possible.
Round off the corners of the patch. Sharp corners can lift under tension.
Step 3: Position and tape
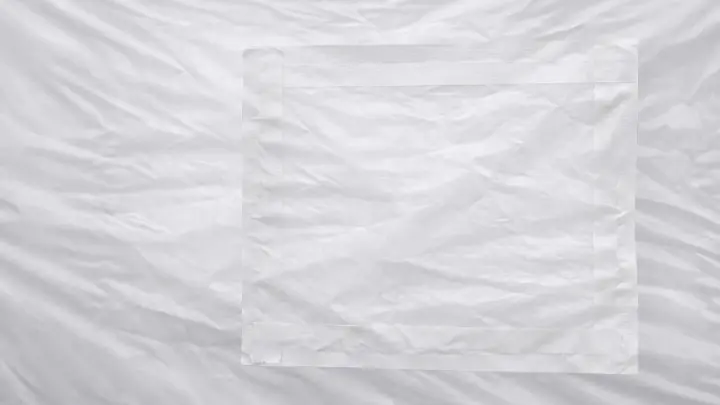
- Place the patch over the hole and tape all edges.
- Work the tape down to remove any gaps.
Step 4: Heat the patch with a torch
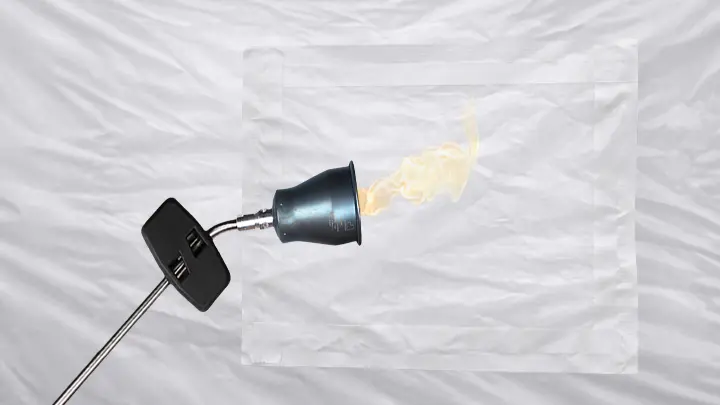
- Apply heat with a shrink torch to the patch, starting from the centre and moving outwards in steady passes.
- Keep the heat spread over the surface to avoid thinning the material in one spot.
- As the patch tightens, make sure it sits flush with the surrounding wrap, with no sagging or lifting at the edges.
A shrink torch runs much hotter than a gun, so handle it carefully to avoid overheating or damaging the wrap. Don’t forget to wear heatproof gloves, even when using a gun.
Step 5: Inspect the patch

Pat the patch lightly with a gloved hand or a roller. The edges should sit flat against the wrap.
If any section lifts, add more tape and apply light heat again.
What to Do if the Patch Tape Lifts
If you notice the tape lifting after applying heat, don’t try to stretch or force it back. Lifted edges mean the adhesive hasn’t fully bonded, or in some cases, there’s debris underneath.
To fix this:
- Peel back the lifted section.
- Wipe the surface beneath with a dry cloth to remove any dust, moisture, or loose particles.
- Reapply the patch tape, pressing down with a gloved hand to remove air pockets.
- Flash heat the area again for 2 to 3 seconds with a shrink gun or torch, keeping the heat moving evenly.
For larger patches that keep lifting, trim the edges slightly and add a small extra piece of tape around the perimeter to strengthen the bond. This helps the patch hold under tension and heat.
When Extra Shrink Wrap Film Is Needed
Extra shrink wrap film is only necessary for larger holes or tears where patch tape alone won’t cover the damage.
How to use it:
- Cut a piece of extra film that overlaps the hole by at least 75 to 100 mm on all sides.
- Trim corners into a rounded shape to avoid lifting points.
- Place the film over the hole and tape all edges down.
- Apply heat evenly with a shrink gun or torch to set the patch.
Use the extra film to fill gaps or strengthen weak spots. Small holes under 50 mm can still be patched with just patch tape.
Important: If the existing shrink wrap is FR-rated, always use FR-rated patch material to maintain fire protection. SP Group supplies shrink wrap and accessories, including Scafwrap FR shrink wrap, shrink wrap double-sided tape, standard shrink wrap tape, tuff clips, and more.
SP Group is a temporary protection and scaffold supplier based in the UK and Ireland. For product enquiries and fast quotes, email our team at customercare@s-pgroup.com or call +44 028 9441 0032.